Showing posts with label DIY. Show all posts

Saturday, May 2, 2015

DiY: Honey Sugar Face Mask!


On my off days i tend to clean up house, but today after I didi that I decided to have my own little spa day. Usually i'll do a hair mask BUT, today I did a face mask and a moisturizing oil bath! Its good to take some time for yourself to relax and let some stresses go. So since I've been having some breakouts lately I decided to do a Honey Mask. Some people so the simple honey wash mask, but i like to add a few things to mine! Sugar or brown sugar is added as a light scrub, Milk or almond milk is always good for your skin so i add a bit of that too! And of course, I add vitamin E oil which is great for your skin! Please be sure you wash your face of make up, i use a lavender/wichhazel/aloe remover and toner that can be purchased at whole foods.


3 tsp raw honey
1/2 tsp sugar ( or brown sugar!)
1 tsp milk (or almond milk)
and 3-6 drops of vitamin E oil

Mix it all up! And be sure to tie your hair back!

Use your fingers to gently massage the honey mask onto your face, and go ahead and let it sit for at least 10 minutes! If your doing a whole home spa day, try drawing a hot bath and add some drops of vitamin E oil or coconut oil for a moisturizer make over for your whole body!

After patting my face dry, I add a drop of Vitamin E oil and massage it onto my face for an extra kick!

BENEFITS OF WASHING WITH HONEY!

  • Honey gently removes dirt and impurities without stripping the skin of natural oils. Foaming cleansers and soaps frequently strip the skin of these protective oils and cause the skin to overproduce oil.
  • The natural antibacterial and probiotic properties of raw honey effectively reduce breakouts and prevent new acne.
  • Since it is so gentle and nurturing to the skin, it is ideal for very sensitive skin, rosacea, and eczema.
  • It works well on all skin types. It balances oily skin and moisturizes dry skin.
  • As far as excellent facial cleansers go, it is much cheaper than store bought options!

Thursday, April 2, 2015

Sneak Peek! DIY: wedding programs!


If you haven't noticed, I love to go the route of DIY, for bookmarks, parties, gifts and right now, my upcoming wedding! Today in doing our wedding program and we decided like the rest of the wedding, it shall be DIY! So, here we go.

First step is finding a template, or design for your program (or invite).

When I had gone to Michaels for some craft materials I browsed their invitation section. And I was surprised to find that they sold kits for making your own invitations and programs! Very cool. The thing I did not enjoy too much was the price, running up to 80$. Being a frugal penny pincher, that was way to much! So I figured, well, all I need is a template that I can edit the wording of- ill check Etsy! And there, I found an abundance of people selling their designs templates! For between 5-20$! What. A. Deal. We decided on a template that had a lovely heart at the top of the page, with the ceremony all laid out (you can also edit the writing!). The one we chose was a whopping 8$!


Here is what it looked like:

No specialty paper, no edits, plain template.


Next, since you'll be printing from home, make sure your printer has ink, is set up to receive commands from your computer. We are going to be making hole punches at the top of the cards so we can tie a bow with twine, so if you want to do that you will need a hole puncher, scissors, and a spool of twine, and make sure you go out and buy the kind of paper you want! We are going with a brown type paper.

Here it is: I got a pack of this paper at Office depot, 250pgs, thick and perfect for programs and invitations!


Once you finish editing the words, if you decide to change or add to what it says, you will go ahead and print! I ended up printing two cards to a page. So if you do this, you will have to cut out each card.

I got these other materialist Walmart! Good price too. And of course you will need coffee, to keep yourself awake!


Next you will punch the holes in the cards, cut up the amount and correct length of twine you will need, and pull the twine through!


Once that's all done, its time to tie bows!!  Cute, tiny and the final touch!
And then the finished product!


our wedding is in three more days! I am feeling really proud of all the DIY wedding projects we have been doing for this special day. It makes it that much more special and unique. I haven't put every project on here because as you can imagine, I am busy! Moving today and wedding errands to complete in three days! But I do hope whoever is taking looks at these posts loves them as much as I do. I can't wait to be Mrs. Ariel Morales <3 p="">

#MoralesWeddingParty

Tuesday, March 24, 2015

DIY Wedding Bouquets!


1. So first I  gathered all my materials. Which for me, were the flowers I wanted, wide loose burlap ribbon, small light colored lace/burlap ribbon, floral tape, and what's no pictured are my wire cutters, scissors and pins with yellow rounded tops.


2. I began to arrange my flowers to my liking. For me, I held the stems in my hand loose and just moved them all around until I loved it :]


3. I decided to wrap the floral tape before I cut the stems. Just to be sure it was exactly how I wanted it. It leaves you hands a little waxy, but washes right off! I got my tape from Michaels.


4. Then came the cutting, which is super tough, but I got it done!


5. I wrapped the newly taped base with the wide loose burlap ribbon, and placed my pins in it. Be sure to push the pins in at an angle, so it doesn't go straight through and poke you. 


And wah-la!  Were done!


The finished bouquets! Brides (mine!) and maid of honors


#MoralesWeddingParty


Saturday, March 21, 2015

Wedding Sneak Peek


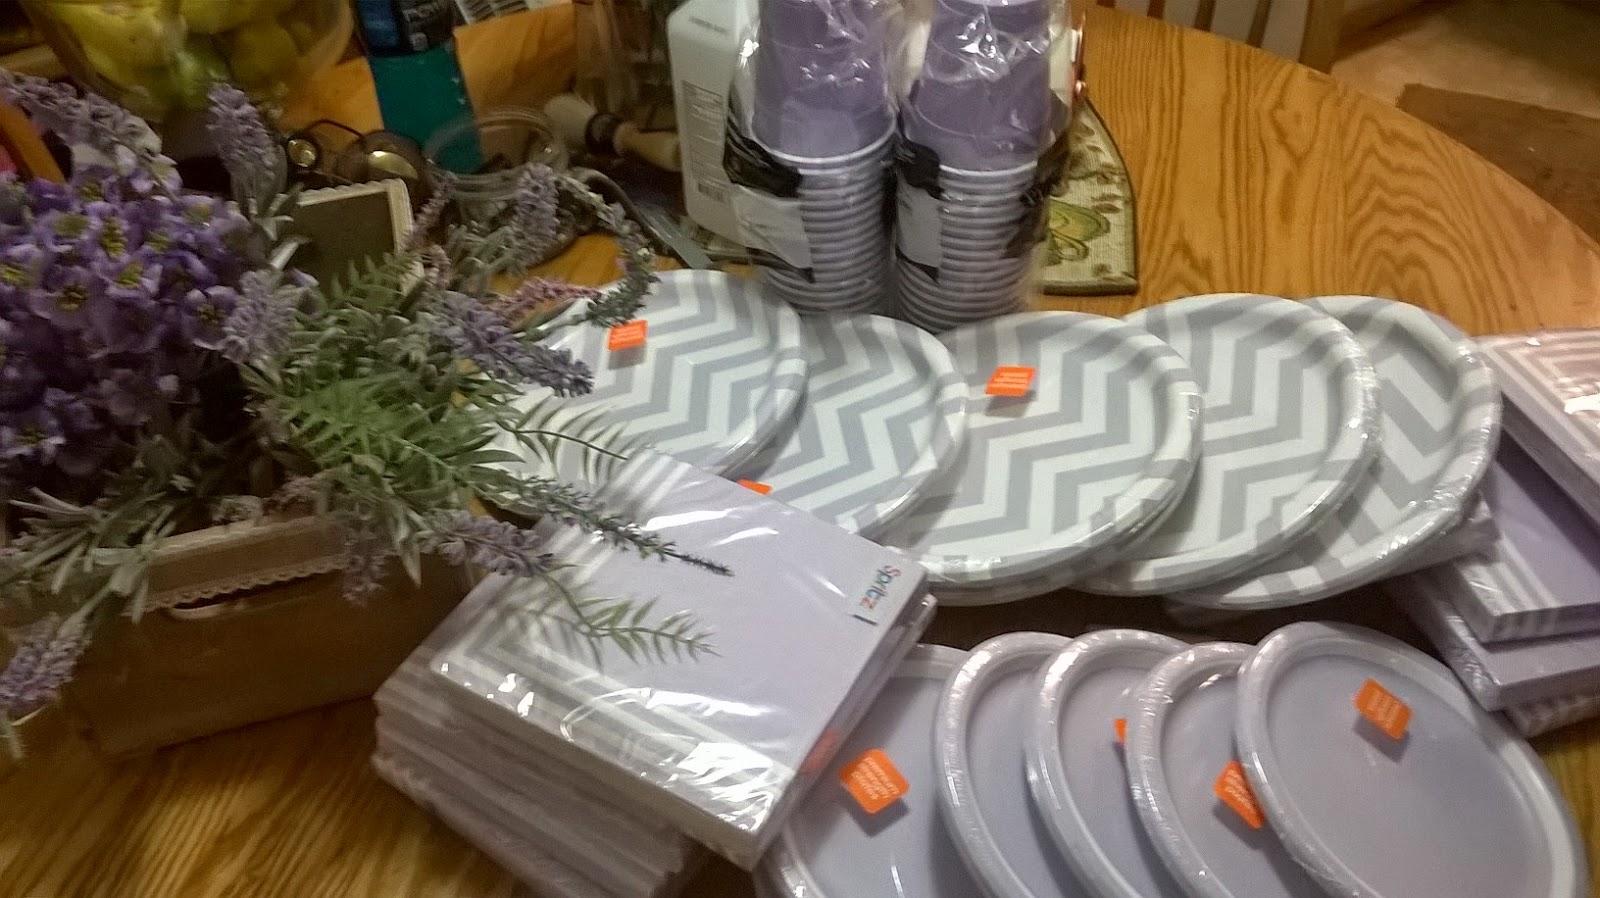
I decided to give you all a little sneak peek into some of our wedding decorations! Everything is, thankfully, going smoothly. Finding everything we need at lovely prices, and really I'm finding amazingly cute things too! So what's Nott pictured above are the table center pieces that are beautiful and hand made by my mom and I, were crafty that way. I haven't decided if you'll get to see those before hand, but, we are letting our guests taking the table center pieces home at the end of the wedding, so I hope everyone ends up liking them. All the plates, napkins and cups are from target, they had irresistibly cute designs and prices! Flowers are from Michaels and Arnie. Hope you like the sneak peek! I'm pretty sure there will be more to come. Can you guess our wedding color? Lol.
 
#MoralesWeddingParty


Saturday, March 7, 2015

Lovely News..

so for a long while I stopped blogging and started writing in my journals, short fiction and poetry, some of which have been chosen to be published and have won a few contests. I also ended up releasing my own poetry chapter book after one of my cousins passed away. Right now in life, the sun is shinning. I'm about to marry my best friend, April 4th, we're starting our lives together and it feels like a lovely cool breeze has blown over our lives. everything just feels so blissful, and I feel like sharing it with everyone.
I want to try to keep this blog alive and going, with personal stories of our everyday lives from being lazy at home, to going out to shows or traveling the world. In fact, this past February, I was in Hawaii for two weeks with Nic, it really was paradise. I'll also be adding posts of book reviews, if you don't know, I work at a book store. And maybe some DIY projects too, especially with my wedding being very DIY, ill post those projects here too!

I'm ready to bring this back :]